Recording
Vindral's recording feature is designed to provide you with the ability to record live streams and offer a practical solution if you wish to archive your broadcasts or make them available for on-demand viewing. The Recording feature allows for the recording of live streams on a per-channel basis. This means you can choose to record streams from all channels, a select few, or just one, depending on your needs.
Please note that the Recording feature records the source material directly, not the transcoded qualities. This means the quality of the recording will be as high as the input stream, ensuring the best possible quality for your archived broadcasts.
Enabling Recording
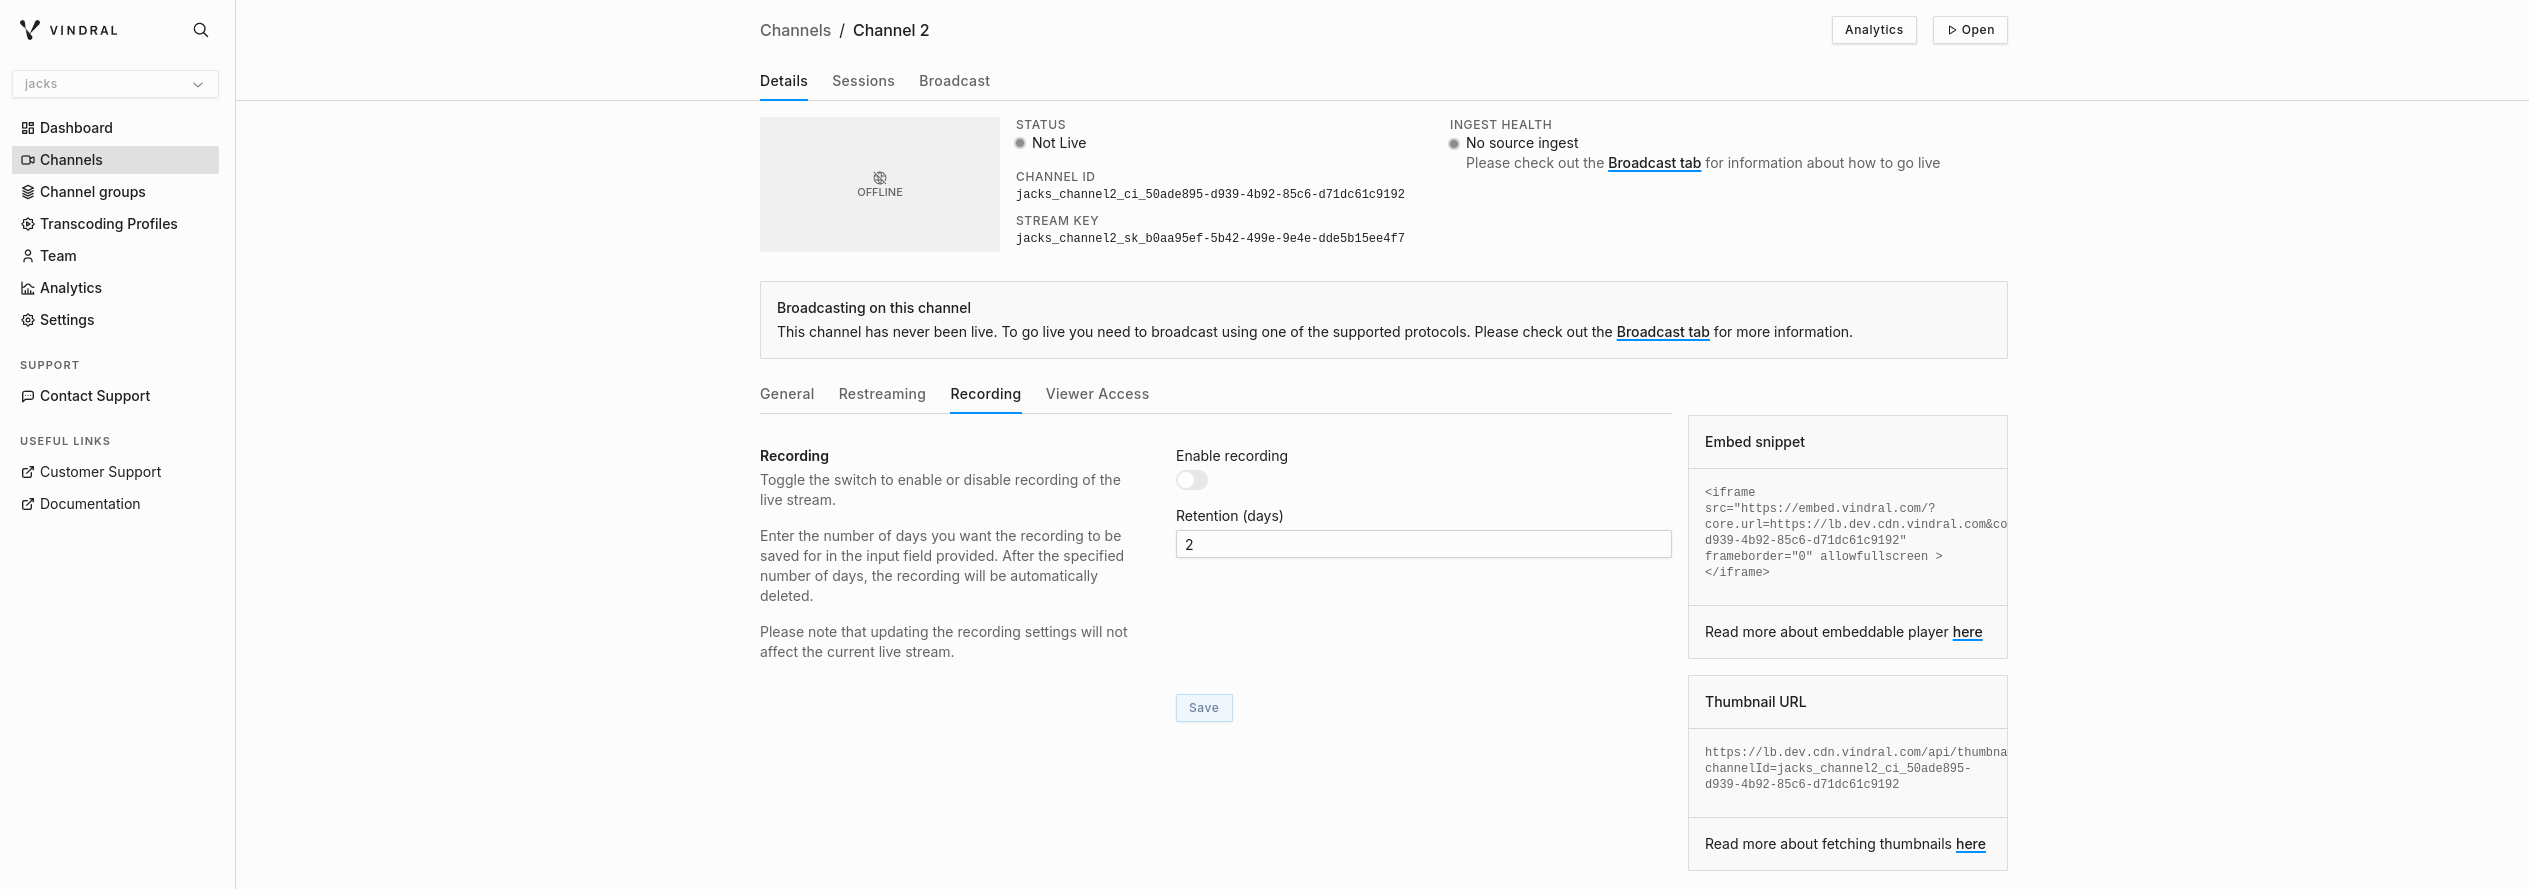
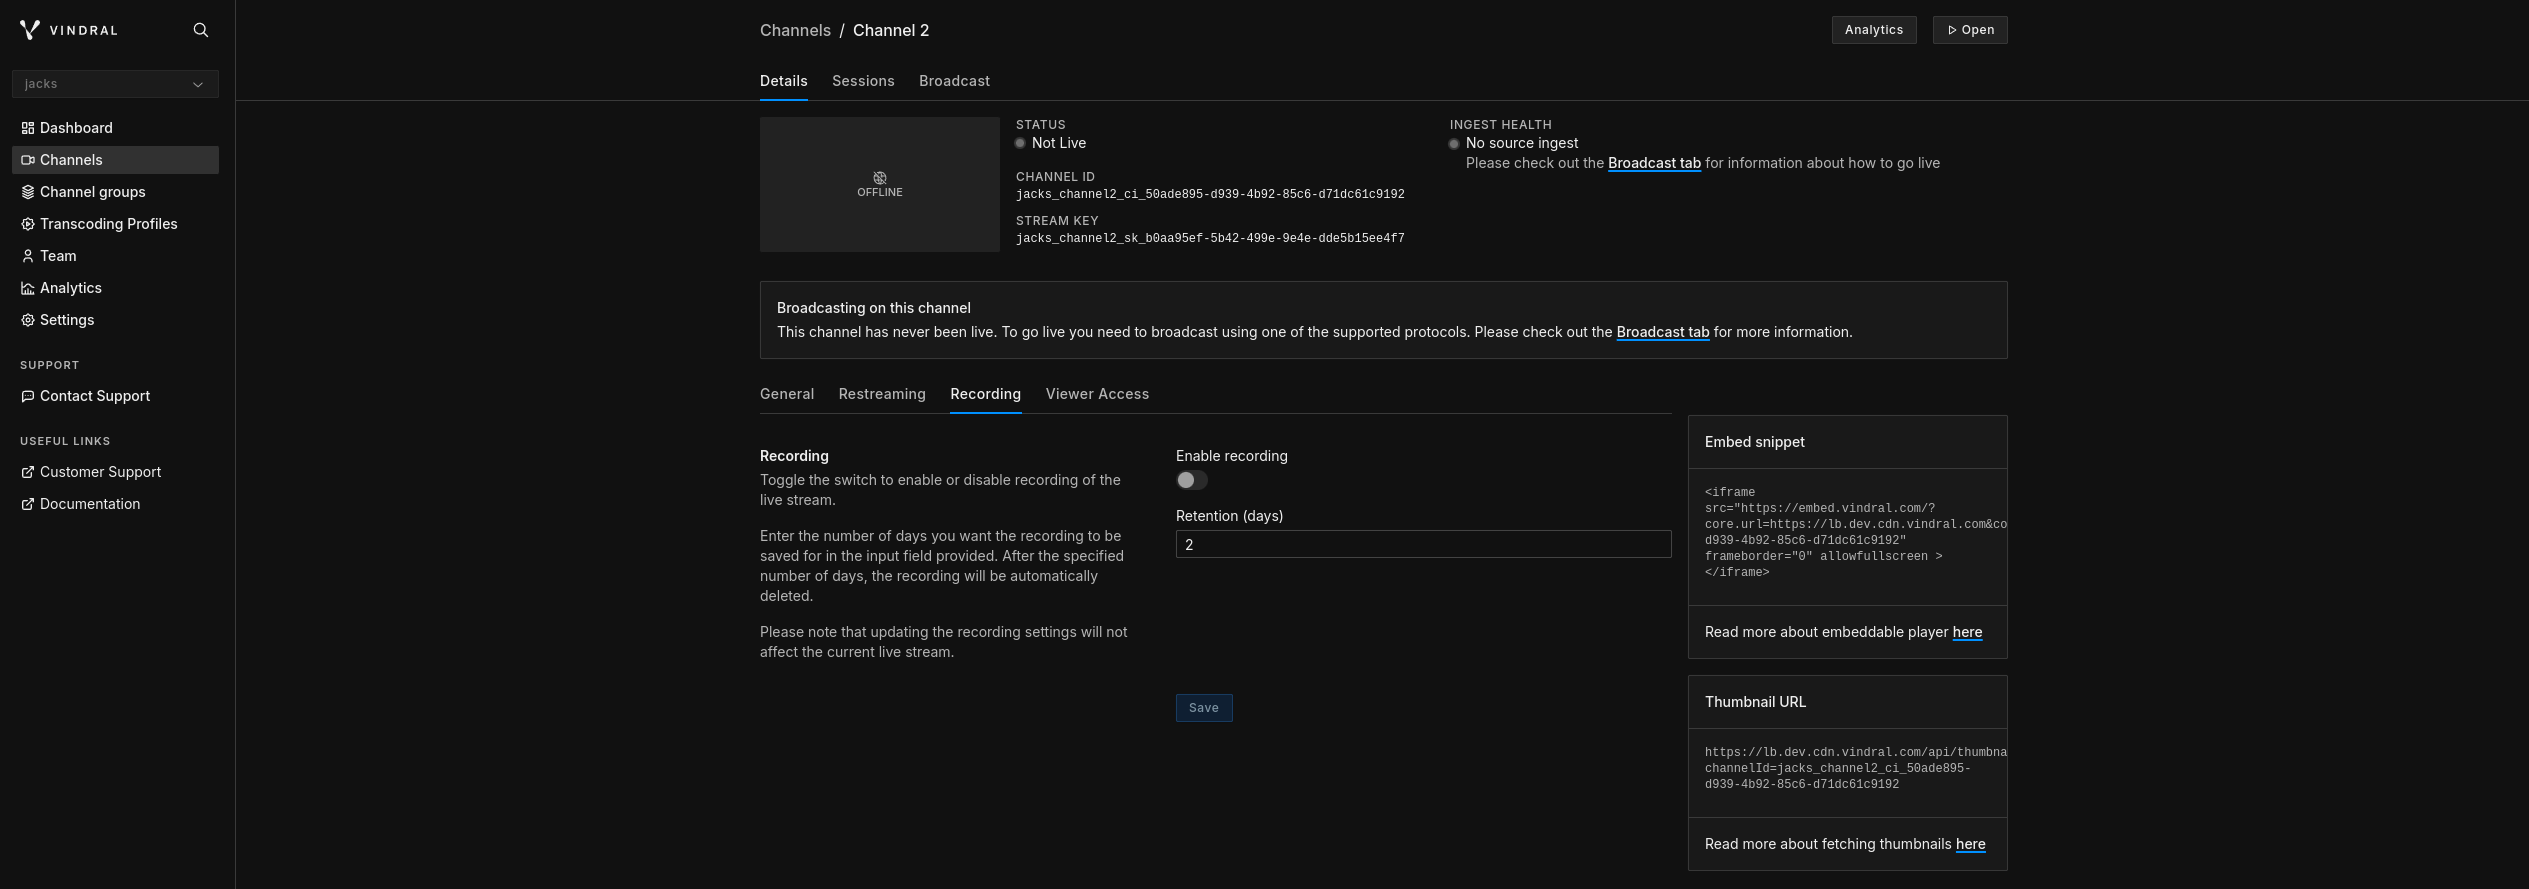
To enable the Recording feature, simply navigate to a channel, find the "Recording" tab, and toggle the switch. Once enabled, the system will automatically record the live streams for that channel.


Setting the Recording Retention
In addition to enabling recording, you can specify the duration for which you want your recordings to be saved (retention). This is done by navigating to the recording tab, finding the "Retention" option, and entering the desired number of days you want to save the recording. The system will then automatically delete the recordings after the specified duration has passed.
Start Streaming
Once everything is set up, you can begin broadcasting. In addition to your live stream, your recording will be saved and stored according to the retention duration you've set. This allows you to revisit or repurpose your broadcasts even after they've been live.
If your channel is already broadcasting while you're modifying your recording settings, you will need to restart the broadcast for the new settings to take effect.
Viewing
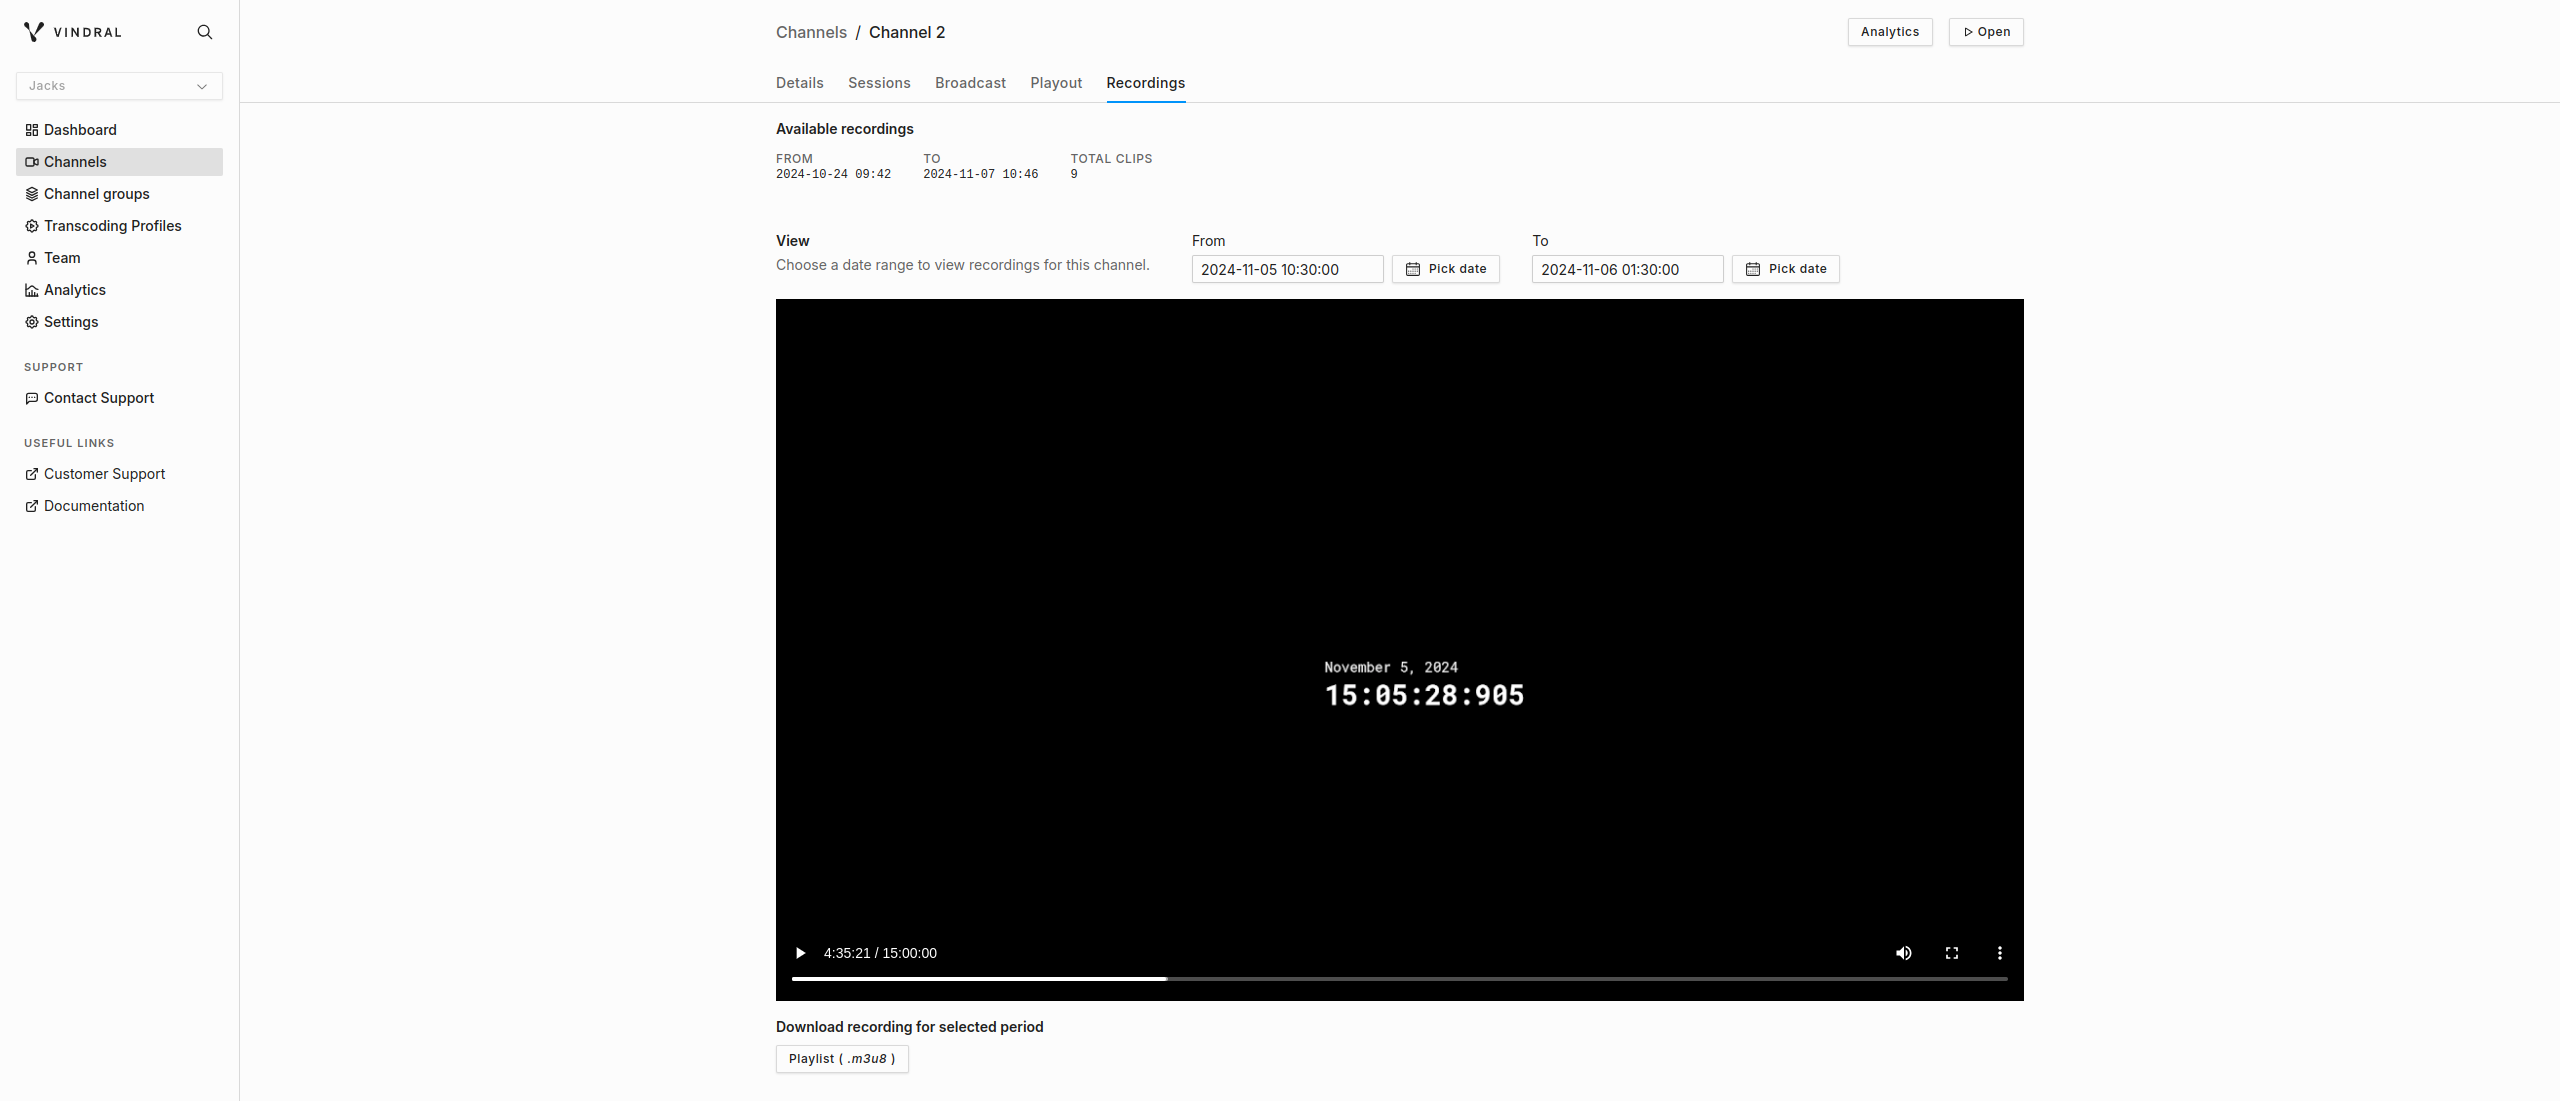
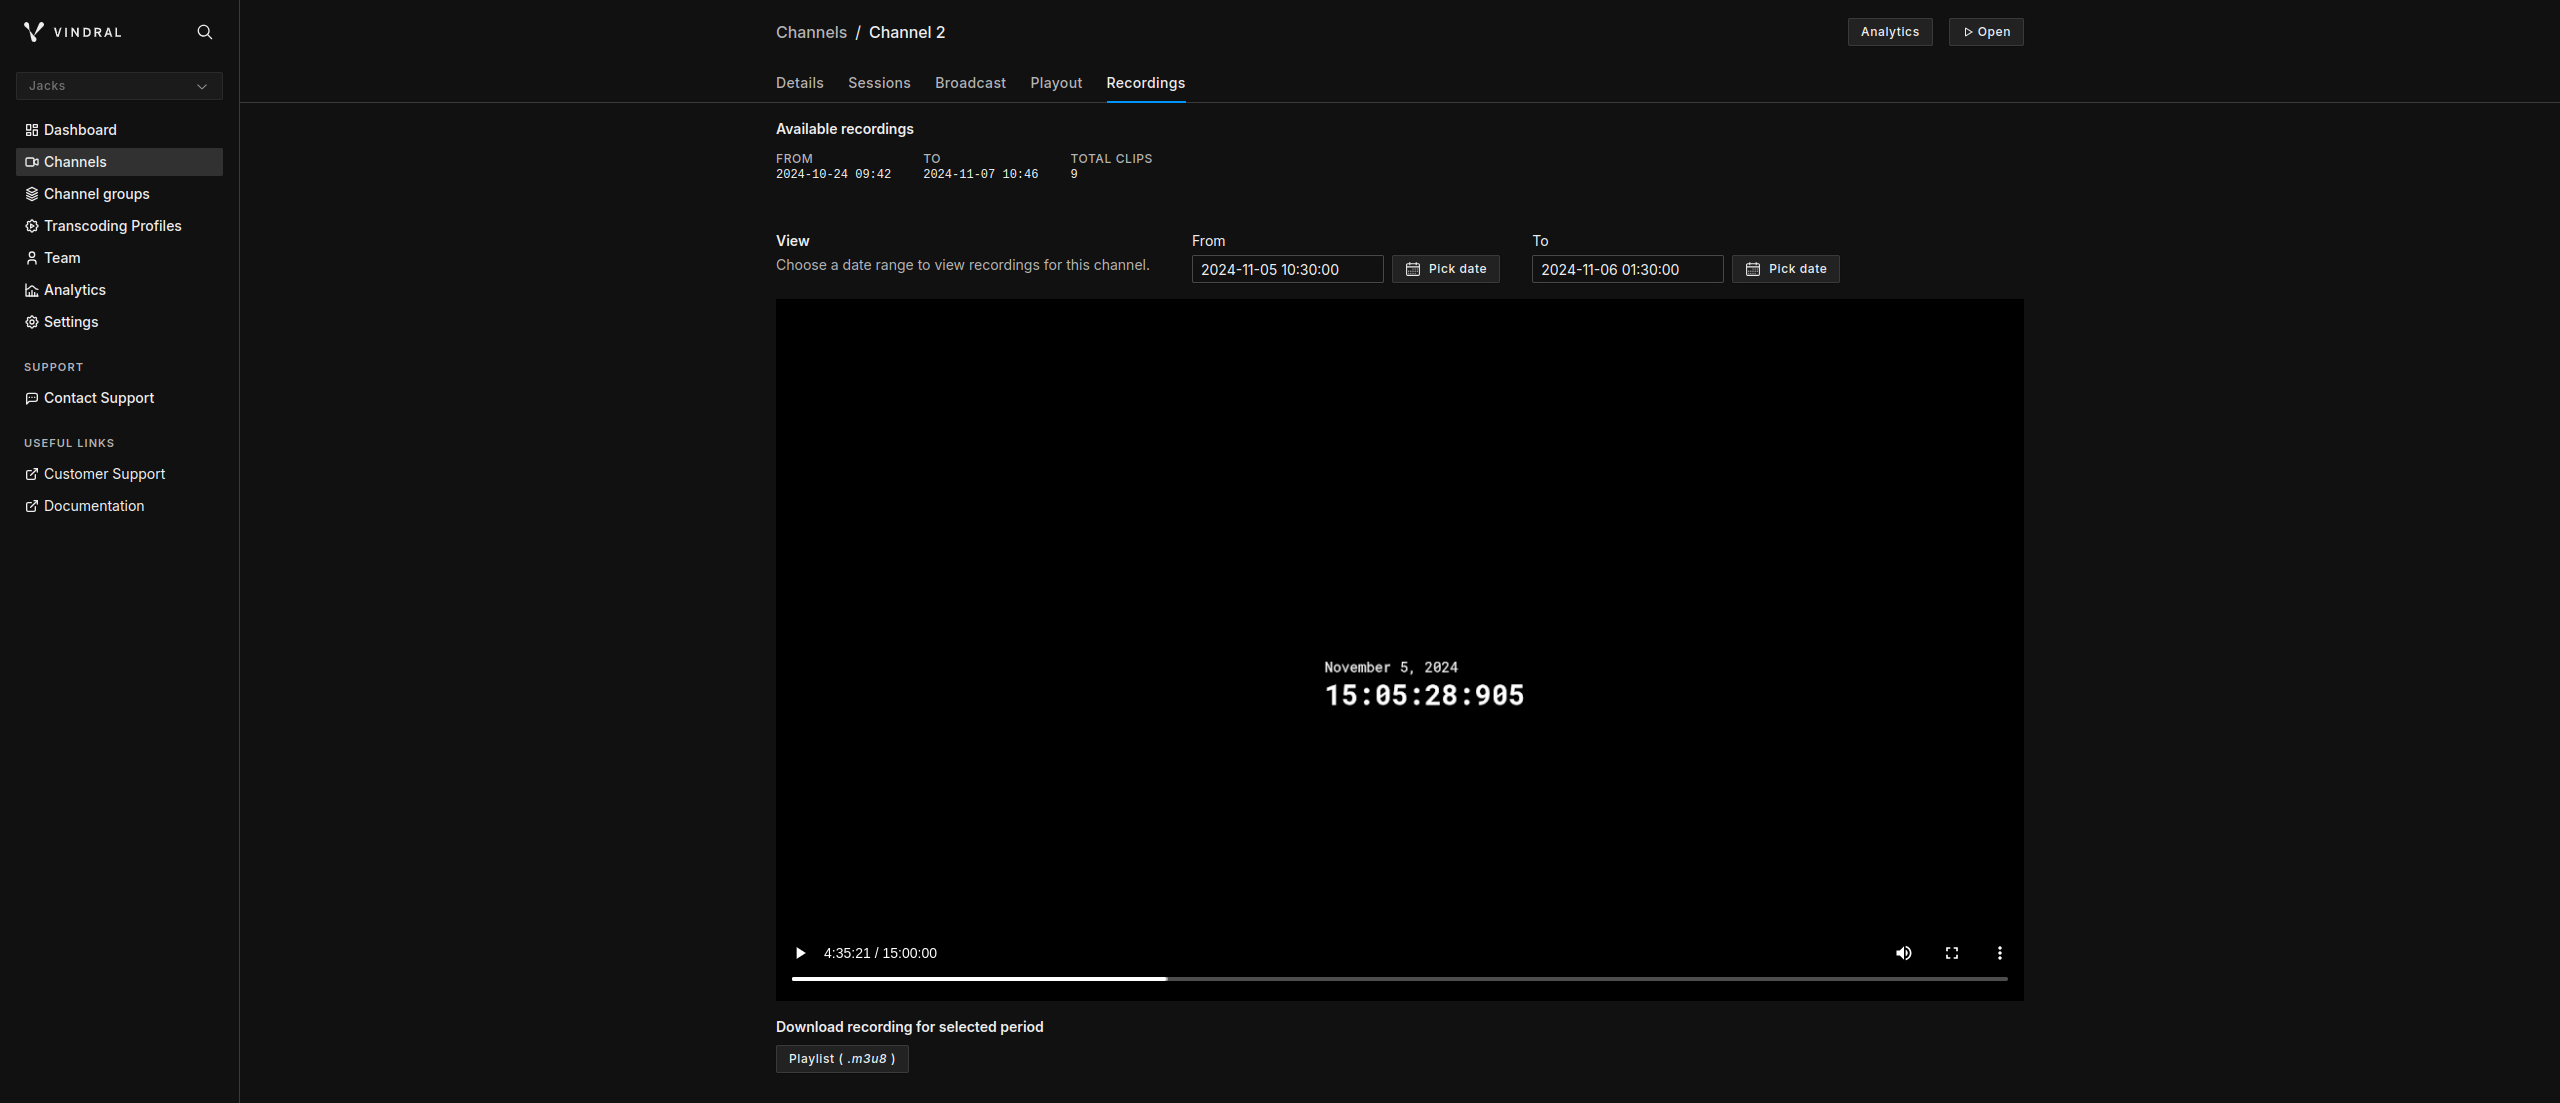
You can view the recordings of your channel under the "Recordings" tab. Here you will be presented with a player allowing you to watch your channel's recordings from a chosen time window. Enter your desired from and to date using the date pickers and any available recordings from that time window will be presented in the player.
You can also download an m3u8 playlist that uses your selected time window.


Sessions
If you want to watch a recording from a specific session, navigate to the "Sessions" tab. Sessions that have an available recording will have a "Recording" button. Click this to be directed to the "Recordings" tab with the time window of your selected session pre-configured so you can watch it instantly.
Clipping
View recorded material or create clips from your recordings to share with your audience. The Clipping API allows you to create clips from your recordings. To use the Clipping API, you will need an API key.
Example usage
To view recorded material between two timestamps use the following API call, with your own API_KEY and CHANNEL_ID, which will redirect you to an m3u8 playlist (see location header in response):
curl -vH "Authorization: Bearer <API_KEY>" "https://api.cdn.vindral.com/v1/clipping/<CHANNEL_ID>/m3u8?from=2024-01-01T12:00:00Z&to=2024-01-01T12:05:00Z"
To create a clip from a recording between the same two timestamps, you can use ffmpeg to save the clip to an mp4 file:
ffmpeg -headers "Authorization: Bearer <API_KEY>" -i "https://api.cdn.vindral.com/v1/clipping/<CHANNEL_ID>/m3u8?from=2024-01-01T12:00:00Z&to=2024-01-01T12:05:00Z" -c:v copy -c:a copy -f mp4 clip.mp4